DIY - Twisted headband.
Hello guys! This is my first tutorial!
I will show you, how you can make
your own twisted headband! I really think they are cute & adorable, I didn't have any fancy nor cute fabrics, sooo, this will just be a tutorial on how to make it, please ignore the fact my fabric is dull and boring. cx ( I will definitely redo this tutorial one day, with some real fancy fabric etc! haha)
Anyways, let's get started!
You will need:
1 Wire
1 Fabric of your choice (Please make sure it's measured long enough to be around your head & maybe a bit longer for the twist).
Sewing gear or a sew machine (Your choice).
1 scissor or a cutter.
1 Fabric glue.
1 Fabric marker.
So, I picked out an old cloth to use, for today. Please replace it with some fabulous fabric instead haha, but as you can see, it's dull and white.
Now what you will want to do is, to draw small lines on where you want to cut it, please make sure you can be available to bend your cutted / choosen fabric, so the edges are a like. If that makes sense... You will have to sew them together later haha.
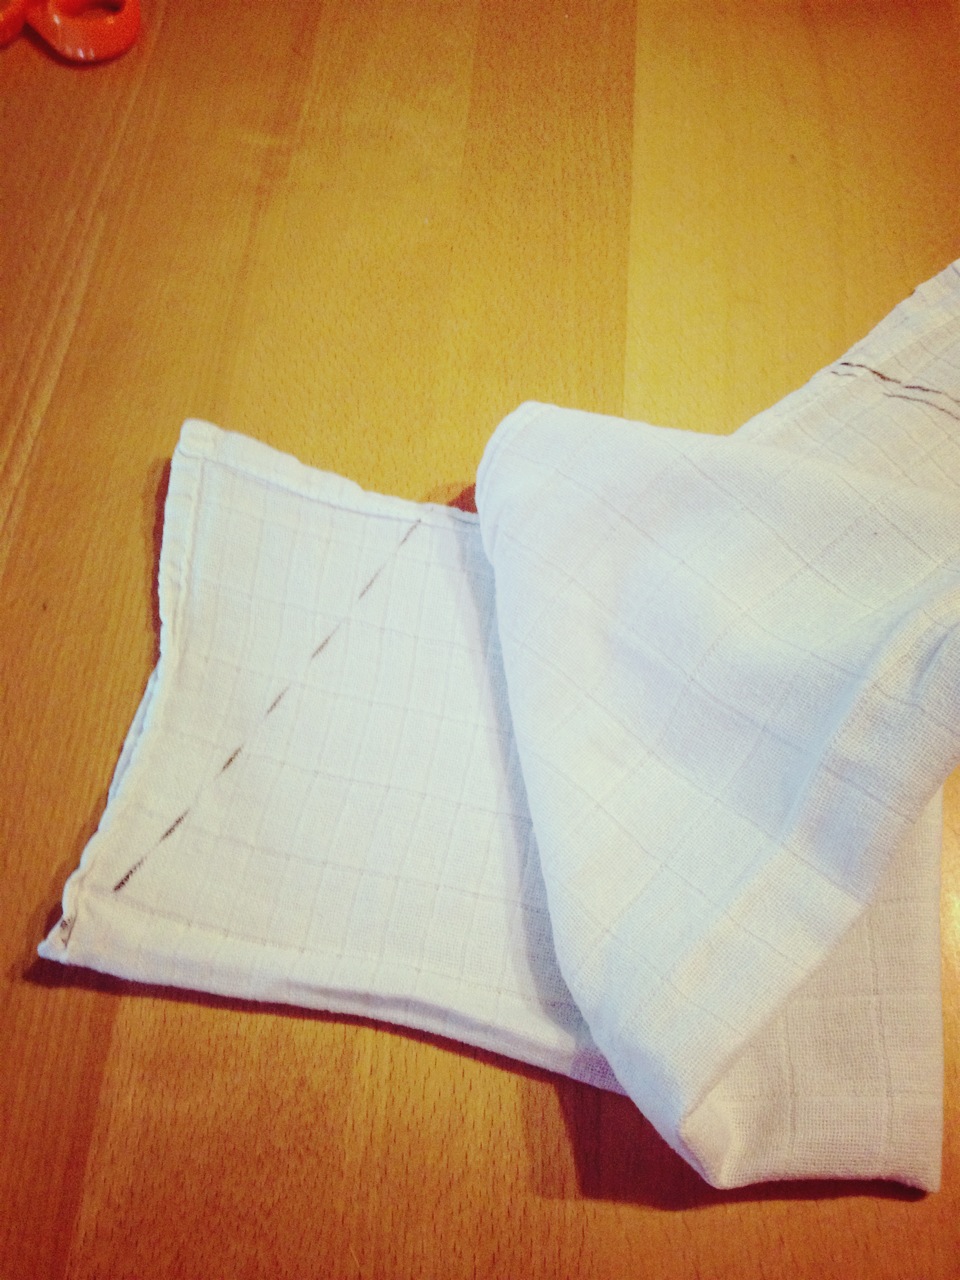
Ok so, let's get it cutted! Here is my cutted cloth, so you will want to bend your cloth together now, so they are even, (I hope you can see my cloth is half bended)
Let's keep going! Draw some lines again, on the corners of your fabric, like this, you will do it like this, because then you will get the cute sharp egde, for your twist on your headband, anyways do it on both sides & let's cut again!
Here I cutted both edges, now you can see how my cloth looks like!
Now the long side, that isn't sticking together on your fabric, like... The part where you bend & your side that isn't sticking together yet, you will now sew it, but don't sew the egde lines, (the twist sides) So ONLY the long side. (Here you can see I sewed the side, I only took a close up picture, sooo.)
Now you will turn your fabric inside out, so you kind of get the sewed layer inside, so your fabric looks much better haha!
NOW YOU WILL NEED YOUR WIRE. c:
Now you will need this long of a wire, yes this long.
Leave some centimeters longer that your fabric.
What you will do now, is that you twist the egdes of your wire like this, to kind of avoid the sharp egde of your wire, (Those hurt :c).
Now, pull the wire through your fabric, so it's as long as your headband, and get the wire egdes at the top, to your fabric corner ( The sharp corners).
Now the egde sides, is where you'll either use fabric glue or you can sew them again.
(I used clue because I am so lazy).
& you're done!
This is my finished result, imagine it with some fancy colours thanks.
Oh, you if you remember my fabric, it was kind of long at the width, so just bend it.
I did that.
You can also choose to cut your fabric a bit smaller, but I kind of like when my headbands is a bit big so
yeah.
Thanks for reading! I hope this tutorial was a lot of help.
There's also youtube videos on how to do it. c:
Bye!
Labels: cute, DIY, headband, tutorial
DIY - Twisted headband.
Hello guys! This is my first tutorial!
I will show you, how you can make
your own twisted headband! I really think they are cute & adorable, I didn't have any fancy nor cute fabrics, sooo, this will just be a tutorial on how to make it, please ignore the fact my fabric is dull and boring. cx ( I will definitely redo this tutorial one day, with some real fancy fabric etc! haha)
Anyways, let's get started!
You will need:
1 Wire
1 Fabric of your choice (Please make sure it's measured long enough to be around your head & maybe a bit longer for the twist).
Sewing gear or a sew machine (Your choice).
1 scissor or a cutter.
1 Fabric glue.
1 Fabric marker.
So, I picked out an old cloth to use, for today. Please replace it with some fabulous fabric instead haha, but as you can see, it's dull and white.
Now what you will want to do is, to draw small lines on where you want to cut it, please make sure you can be available to bend your cutted / choosen fabric, so the edges are a like. If that makes sense... You will have to sew them together later haha.
Ok so, let's get it cutted! Here is my cutted cloth, so you will want to bend your cloth together now, so they are even, (I hope you can see my cloth is half bended)
Let's keep going! Draw some lines again, on the corners of your fabric, like this, you will do it like this, because then you will get the cute sharp egde, for your twist on your headband, anyways do it on both sides & let's cut again!
Here I cutted both edges, now you can see how my cloth looks like!
Now the long side, that isn't sticking together on your fabric, like... The part where you bend & your side that isn't sticking together yet, you will now sew it, but don't sew the egde lines, (the twist sides) So ONLY the long side. (Here you can see I sewed the side, I only took a close up picture, sooo.)
Now you will turn your fabric inside out, so you kind of get the sewed layer inside, so your fabric looks much better haha!
NOW YOU WILL NEED YOUR WIRE. c:
Now you will need this long of a wire, yes this long.
Leave some centimeters longer that your fabric.
What you will do now, is that you twist the egdes of your wire like this, to kind of avoid the sharp egde of your wire, (Those hurt :c).
Now, pull the wire through your fabric, so it's as long as your headband, and get the wire egdes at the top, to your fabric corner ( The sharp corners).
Now the egde sides, is where you'll either use fabric glue or you can sew them again.
(I used clue because I am so lazy).
& you're done!
This is my finished result, imagine it with some fancy colours thanks.
Oh, you if you remember my fabric, it was kind of long at the width, so just bend it.
I did that.
You can also choose to cut your fabric a bit smaller, but I kind of like when my headbands is a bit big so
yeah.
Thanks for reading! I hope this tutorial was a lot of help.
There's also youtube videos on how to do it. c:
Bye!
Labels: cute, DIY, headband, tutorial